Table of Contents
Laminate flooring is a popular choice for many homes, but it’s not immune to wear and tear. Whether it’s a scratch, water damage, or a buckling plank, knowing how to repair laminate flooring can save you time and money. This guide will walk you through the common issues and how to tackle them like a pro.
Key Takeaways
- Scratches and chips in laminate flooring can often be fixed with a repair kit or filler paste.
- Water-damaged planks may need to be replaced entirely to prevent further issues.
- Maintaining proper expansion gaps helps avoid buckling and ensures the longevity of your flooring.
Common Types of Laminate Flooring Damage
Identifying Scratches and Chips
Scratches and chips are among the most common issues with laminate flooring. These imperfections often occur when heavy furniture is dragged across the floor or when sharp objects come into contact with the surface. Even small scratches can stand out on laminate’s smooth finish. Chips, on the other hand, usually result from dropped items or accidental impacts. While they may seem minor, they can detract from the floor’s overall look and even expose the core material, making it vulnerable to further damage.
Recognising Water Damage
Water damage is a laminate floor’s worst enemy. Whether caused by spills, leaks, or high humidity, water can seep into the seams and cause swelling, discolouration, or even warping. Moisture exposure often leads to planks lifting or bubbling, and if left untreated, it can permanently ruin sections of the floor. Always address water-related issues promptly to minimise damage.
Spotting Gaps and Buckling
Gaps and buckling are structural issues that can happen over time. Gaps often appear when the flooring wasn’t installed with enough expansion space or if the room experiences significant temperature changes. Buckling, on the other hand, happens when planks are forced upward—usually due to moisture or improper installation. These issues not only look unsightly but can also create tripping hazards.
Step-by-Step Guide to Repairing Laminate Flooring

Preparing the Damaged Area
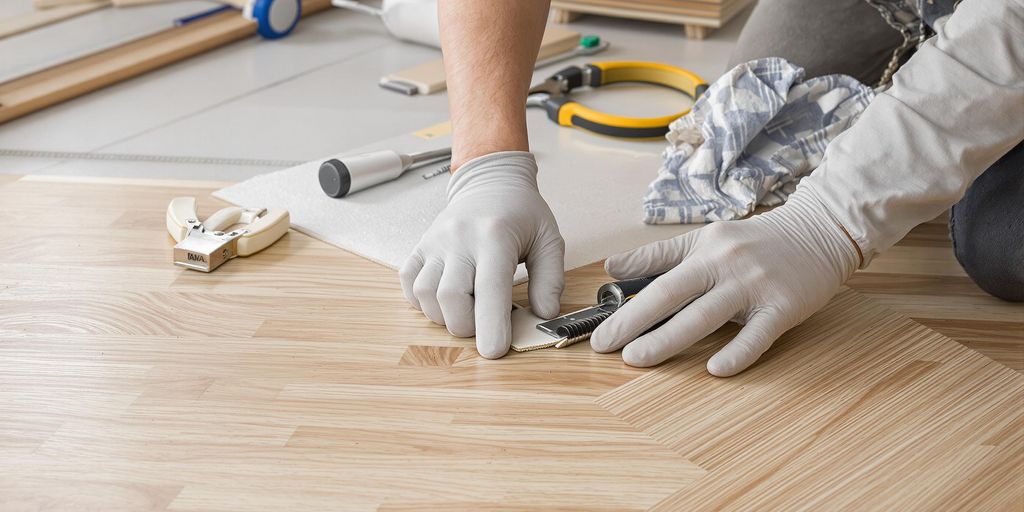
Before diving into repairs, it’s crucial to assess the damage. Start by cleaning the area thoroughly—dust, dirt, and debris can interfere with the repair process. Use a damp cloth for surface cleaning and make sure the spot is completely dry before proceeding.
- Safety first: Wear gloves and goggles to protect yourself.
- Gather necessary tools like a utility knife, putty knife, and cleaning supplies.
- Identify the type of damage—scratches, chips, or water damage—to determine the best course of action.
Using a Laminate Repair Kit
For minor issues like scratches or small chips, a laminate repair kit can work wonders. These kits typically include colour-matching putty, a mixing tool, and a filler.
- Choose a filler that matches your floor’s colour. If needed, mix two shades for a closer match.
- Apply the filler to the damaged area using a putty knife, smoothing it out evenly.
- Let it dry for the recommended time, then buff the area lightly to blend the repair with the surrounding floor.
A well-applied laminate repair kit can make minor damage nearly invisible, saving you from the hassle of replacing planks.
Replacing Damaged Planks
When damage is too severe for simple fixes, replacing the affected planks is the best option. Here’s how to do it:
- Remove the baseboards or mouldings around the room’s edges using a pry bar. This gives you access to the flooring.
- Use a circular saw to carefully cut out the damaged plank. Make sure to cut along the seams to avoid damaging adjacent planks.
- Prepare the replacement plank by trimming it to the correct size, if necessary. Then, click it into place or use adhesive, depending on your flooring type.
- Reinstall the baseboards and clean up any debris.
Replacing planks may seem tricky, but it’s a straightforward process with the right tools. If you’re unsure, consider reaching out to a professional service like Surface Care, who specialise in laminate floor repairs.
Pro Tips for Seamless Laminate Flooring Repairs

Matching Replacement Planks
When replacing damaged planks, always ensure the new piece matches your existing floor in terms of colour, texture, and thickness. A mismatch can stand out like a sore thumb, so take the time to get it right. If you can’t find an exact match, consider removing and replacing a larger section of flooring to create a natural transition, such as at a doorway.
Maintaining Expansion Gaps
Expansion gaps aren’t just a suggestion—they’re a must. These gaps allow the laminate to expand and contract with changes in temperature and humidity. Without them, your floor can buckle or warp. Use spacers during installation to maintain consistent gaps along the walls. Double-check these gaps before finalising repairs.
Working in a Dust-Free Environment
Dust and debris can ruin even the most careful repair job. Before starting, sweep and vacuum the area thoroughly. If you’re using adhesives or repair kits, a clean surface ensures proper adhesion. For sanding or cutting, consider using a dust mask to keep your workspace and lungs clear of fine particles.
A clean, organised workspace not only makes repairs easier but also ensures a more polished final result.
If you want to fix your laminate flooring without any hassle, follow these expert tips. Start by gathering the right tools and materials. Make sure to clean the area well before you begin. If you have a damaged plank, carefully remove it and replace it with a new one. Don’t forget to check for any moisture issues that could cause future problems. For more detailed guidance and to see our services, visit our website today!
Conclusion
Fixing laminate flooring might seem like a big job at first, but once you get into it, it’s really just about taking it step by step. Whether you’re patching up a scratch, filling a chip, or swapping out a damaged plank, the key is to stay patient and follow the process. Sure, it might take a bit of time and effort, but the satisfaction of seeing your floor looking good as new is totally worth it. Plus, you’ll save a heap by doing it yourself. So, grab your tools, take your time, and give it a go—you’ve got this!
Frequently Asked Questions
Yes, scratches can often be repaired using a laminate repair kit. These kits usually include colour-matching putty or wax sticks to fill and blend the scratch with the surrounding floor. Follow the instructions carefully for the best results.
For minor water damage, dry the area thoroughly with fans or dehumidifiers and use a laminate repair kit to patch any affected spots. If the damage is extensive, you may need to replace the damaged planks entirely.
To ensure a seamless match, take a sample of your existing flooring to the store when buying replacement planks. Match the colour, texture, and thickness as closely as possible for the best results.
Save Time and Money with Professional Surface Care
Scratches, chips, and water damage can make laminate floors look worn, but proper repairs keep them looking their best.
At Surface Care, we offer fast, cost-effective laminate floor repairs, from minor touch-ups to full plank replacements—saving you time and money.
If DIY isn’t enough, let our experts restore, revive, and renew your surfaces. Get in touch today!
Get Your Free Quote Today!
Ready to transform your surfaces? Whether it’s a minor scratch or a complete restoration, our experts are here to help.
Simply fill out the form below, and we’ll provide you with a free, no-obligation quote tailored to your needs. Experience the quality and care that only Surface Care can offer.
Don’t wait—revive, restore, and renew your surfaces today!

